Stoat Self-Hosted
[](https://github.com/stoatchat/self-hosted/stargazers)
[](https://github.com/stoatchat/self-hosted/network/members)
[](https://github.com/stoatchat/self-hosted/pulls)
[](https://github.com/stoatchat/self-hosted/issues)
[](https://github.com/stoatchat/self-hosted/graphs/contributors)
[](https://github.com/stoatchat/self-hosted/blob/main/LICENSE)
Self-hosting Stoat using Docker
This repository contains configurations and instructions that can be used for deploying a full instance of Stoat, including the back-end, web front-end, file server, and metadata and image proxy.
> [!WARNING]
> If you are updating an instance from before February 28, 2026, please consult the [notices section](#notices) at the bottom.
> [!IMPORTANT]
> A list of security advisories is [provided at the bottom](#security-advisories).
> [!NOTE]
> Please consult _[What can I do with Stoat and how do I self-host?](https://developers.stoat.chat/faq)_ on our developer site for information about licensing and brand use.
## Table of Contents
- [Deployment](#deployment)
- [Secure your server](#secure-your-server)
- [Configure your domain](#configure-your-domain)
- [Install Required Dependencies](#install-required-dependencies)
- [Configuration](#configuration)
- [Updating](#updating)
- [Additional Notes](#additional-notes)
- [Creating an Account](#creating-an-account)
- [Placing Behind Another Reverse-Proxy or Another Port](#placing-behind-another-reverse-proxy-or-another-port)
- [Insecurely Expose the Database](#insecurely-expose-the-database)
- [Mongo Compatibility](#mongo-compatibility)
- [KeyDB Compatibility](#keydb-compatibility)
- [Making Your Instance Invite-only](#making-your-instance-invite-only)
- [Why ports 7881 and 50000-50100/udp aren't in the Caddyfile](#why-ports-7881-and-50000-50100udp-arent-in-the-caddyfile)
- [Notices](#notices)
- [Security Advisories](#security-advisories)
## Deployment
To get started, find yourself a suitable server to deploy onto, we recommend starting with at least 2 vCPUs and 2 GB of memory.
> [!TIP]
>
> **We've partnered with Hostinger to bring you a 20% discount off VPS hosting!**
>
> 👉 https://www.hostinger.com/vps-hosting?REFERRALCODE=REVOLTCHAT
>
> We recommend using the _KVM 2_ plan at minimum!\
> Our testing environment for self-hosted currently sits on a KVM 2 instance, and we are happy to assist with issues.
The instructions going forward will use Hostinger as an example hosting platform, but you should be able to adapt these to other platforms as necessary. There are important details throughout.
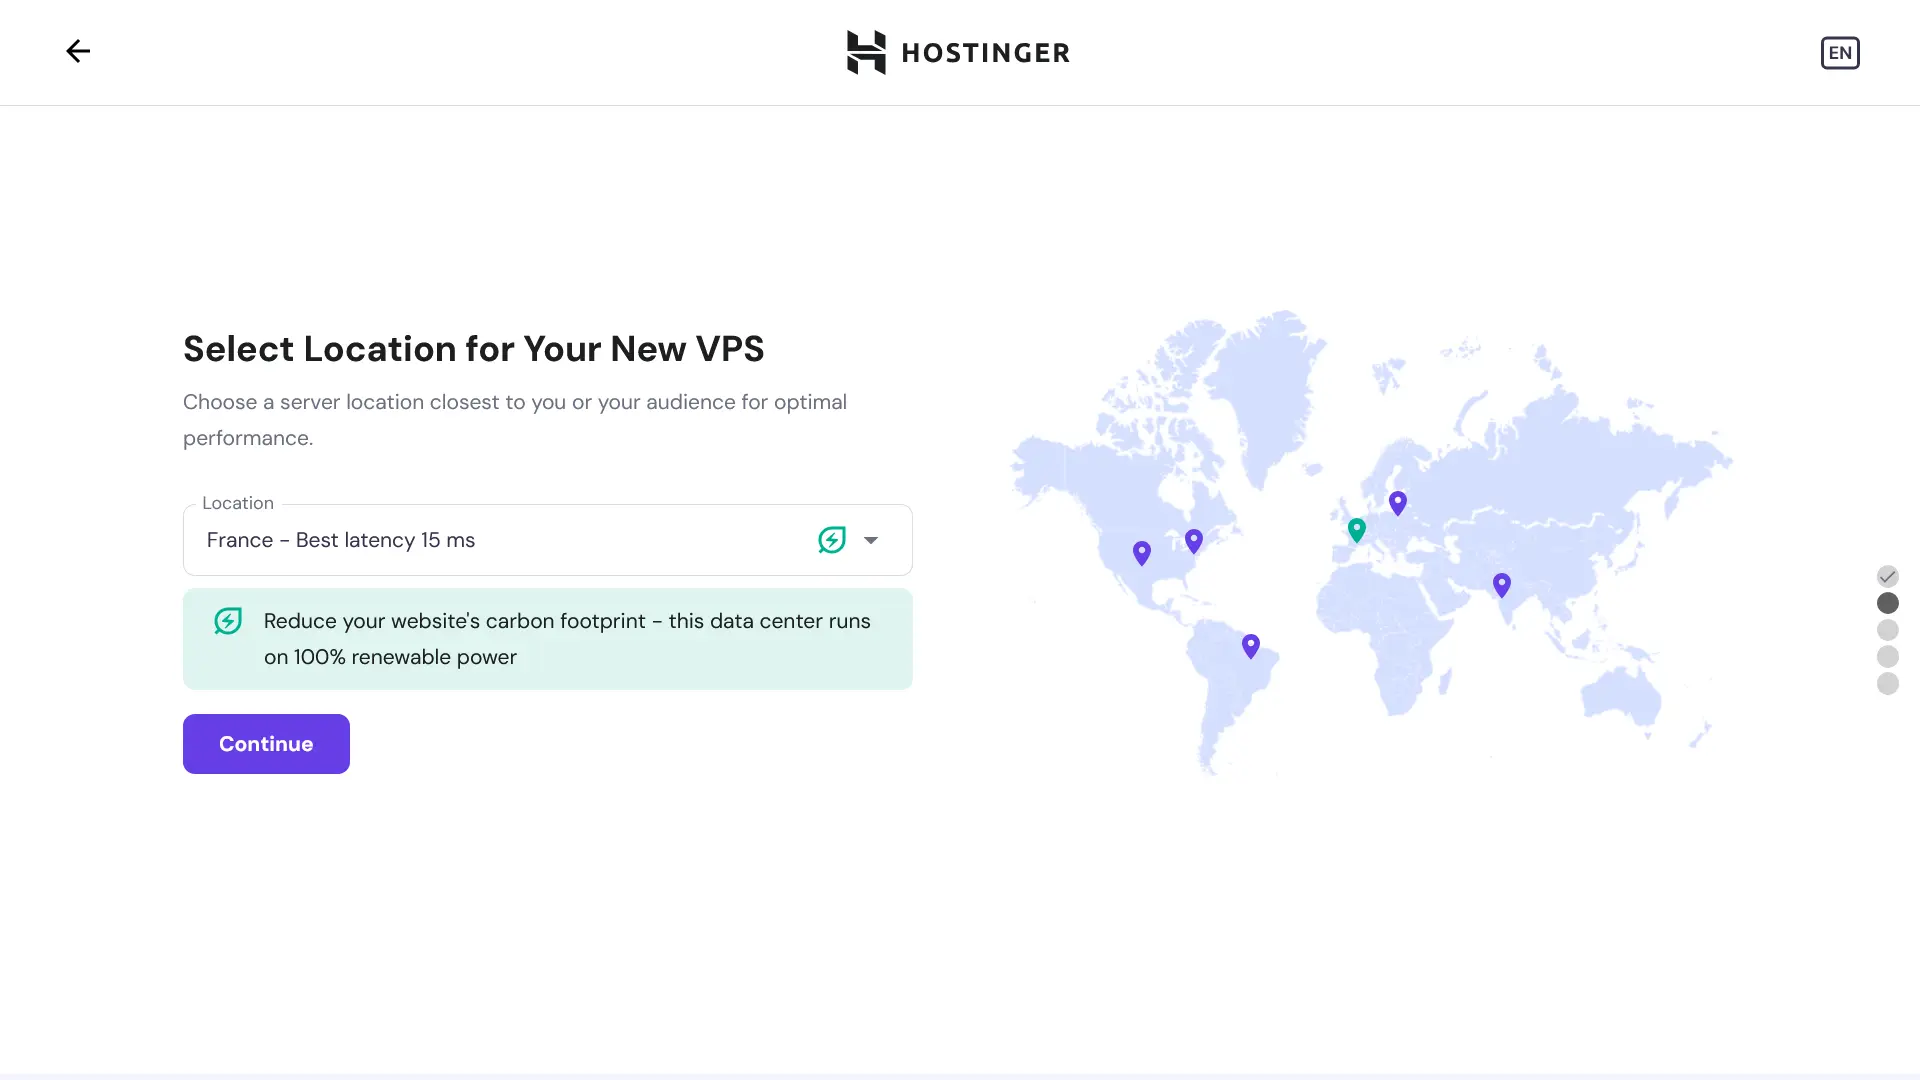
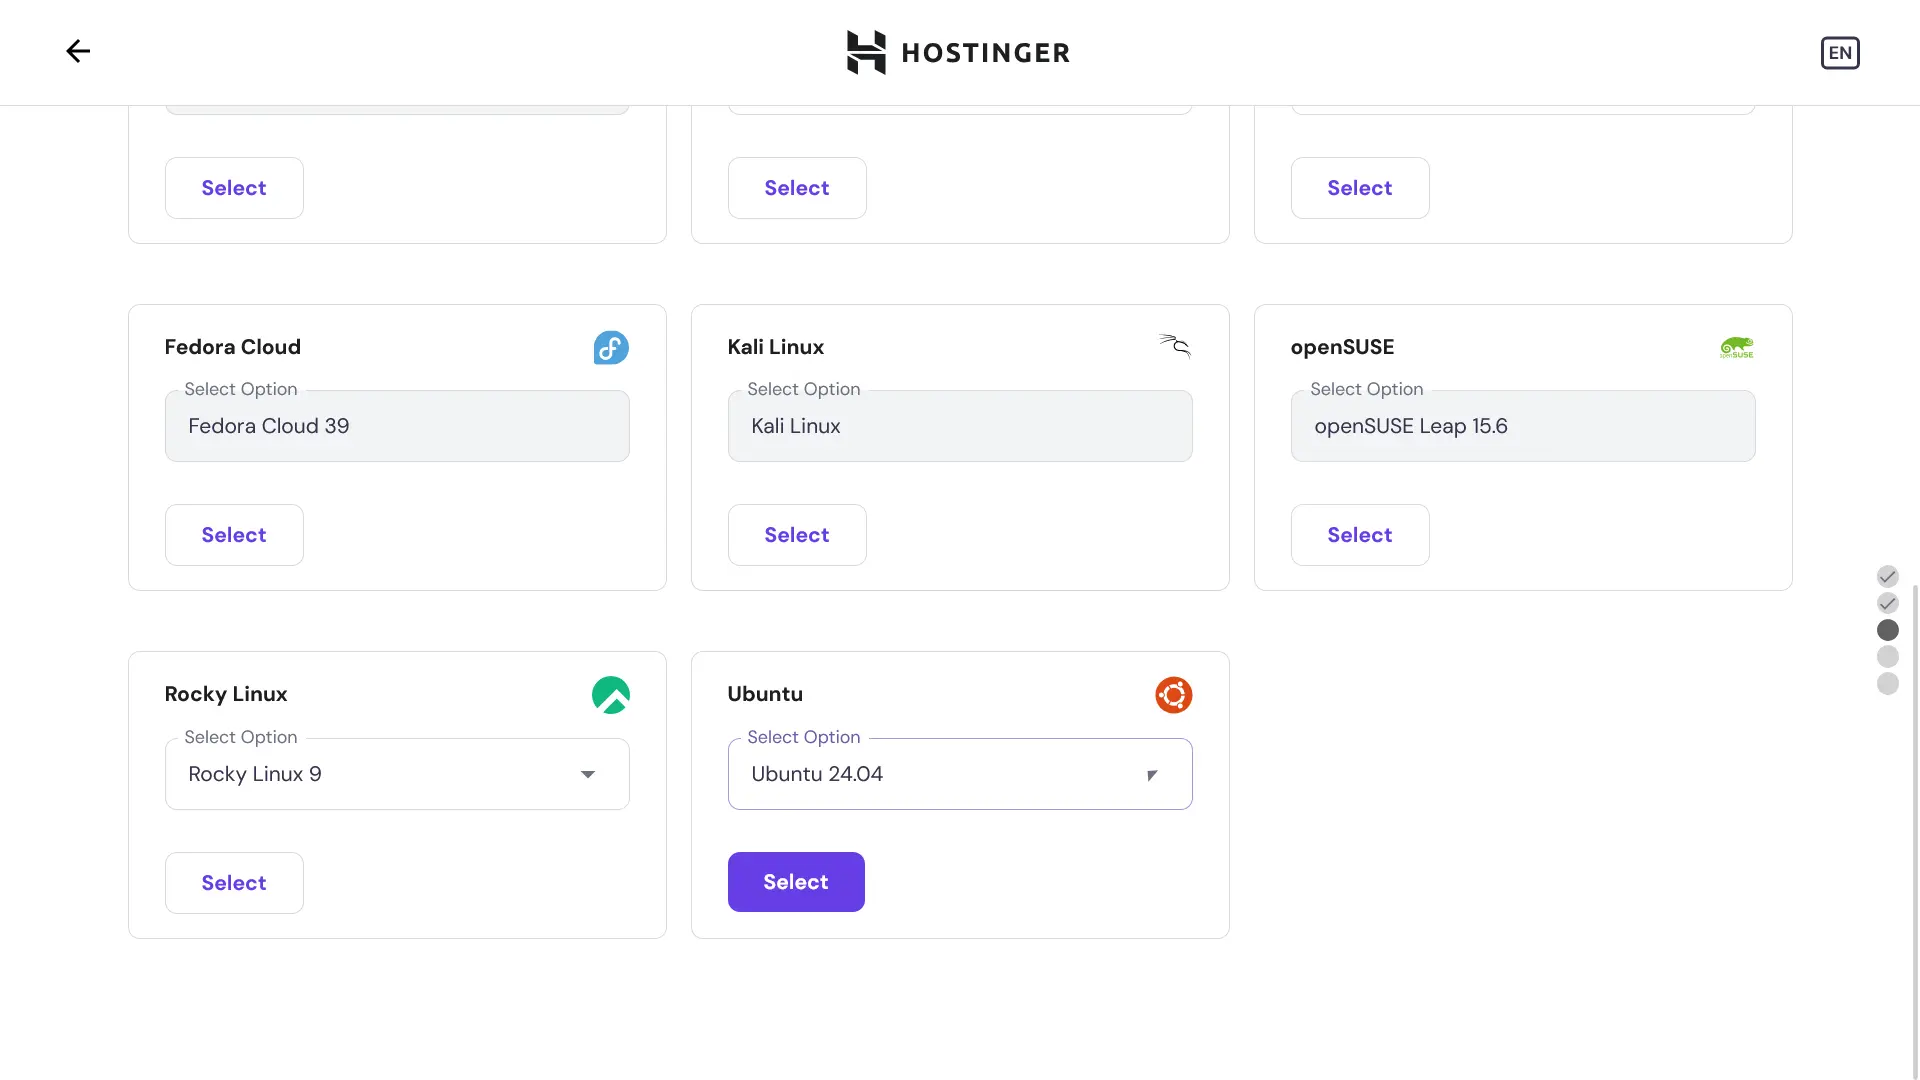
When asked, choose **Ubuntu Server** as your operating system; this is used by us in production, and we recommend its use.
If you've chosen to go with Hostinger, they include integrated malware scanning, which may be of interest:

You should set a secure root password for login (_or disable password login after setup, which is explained later! but you shouldn't make the password trivial until after this is secured at least!_) and we recommend that you configure an SSH key:
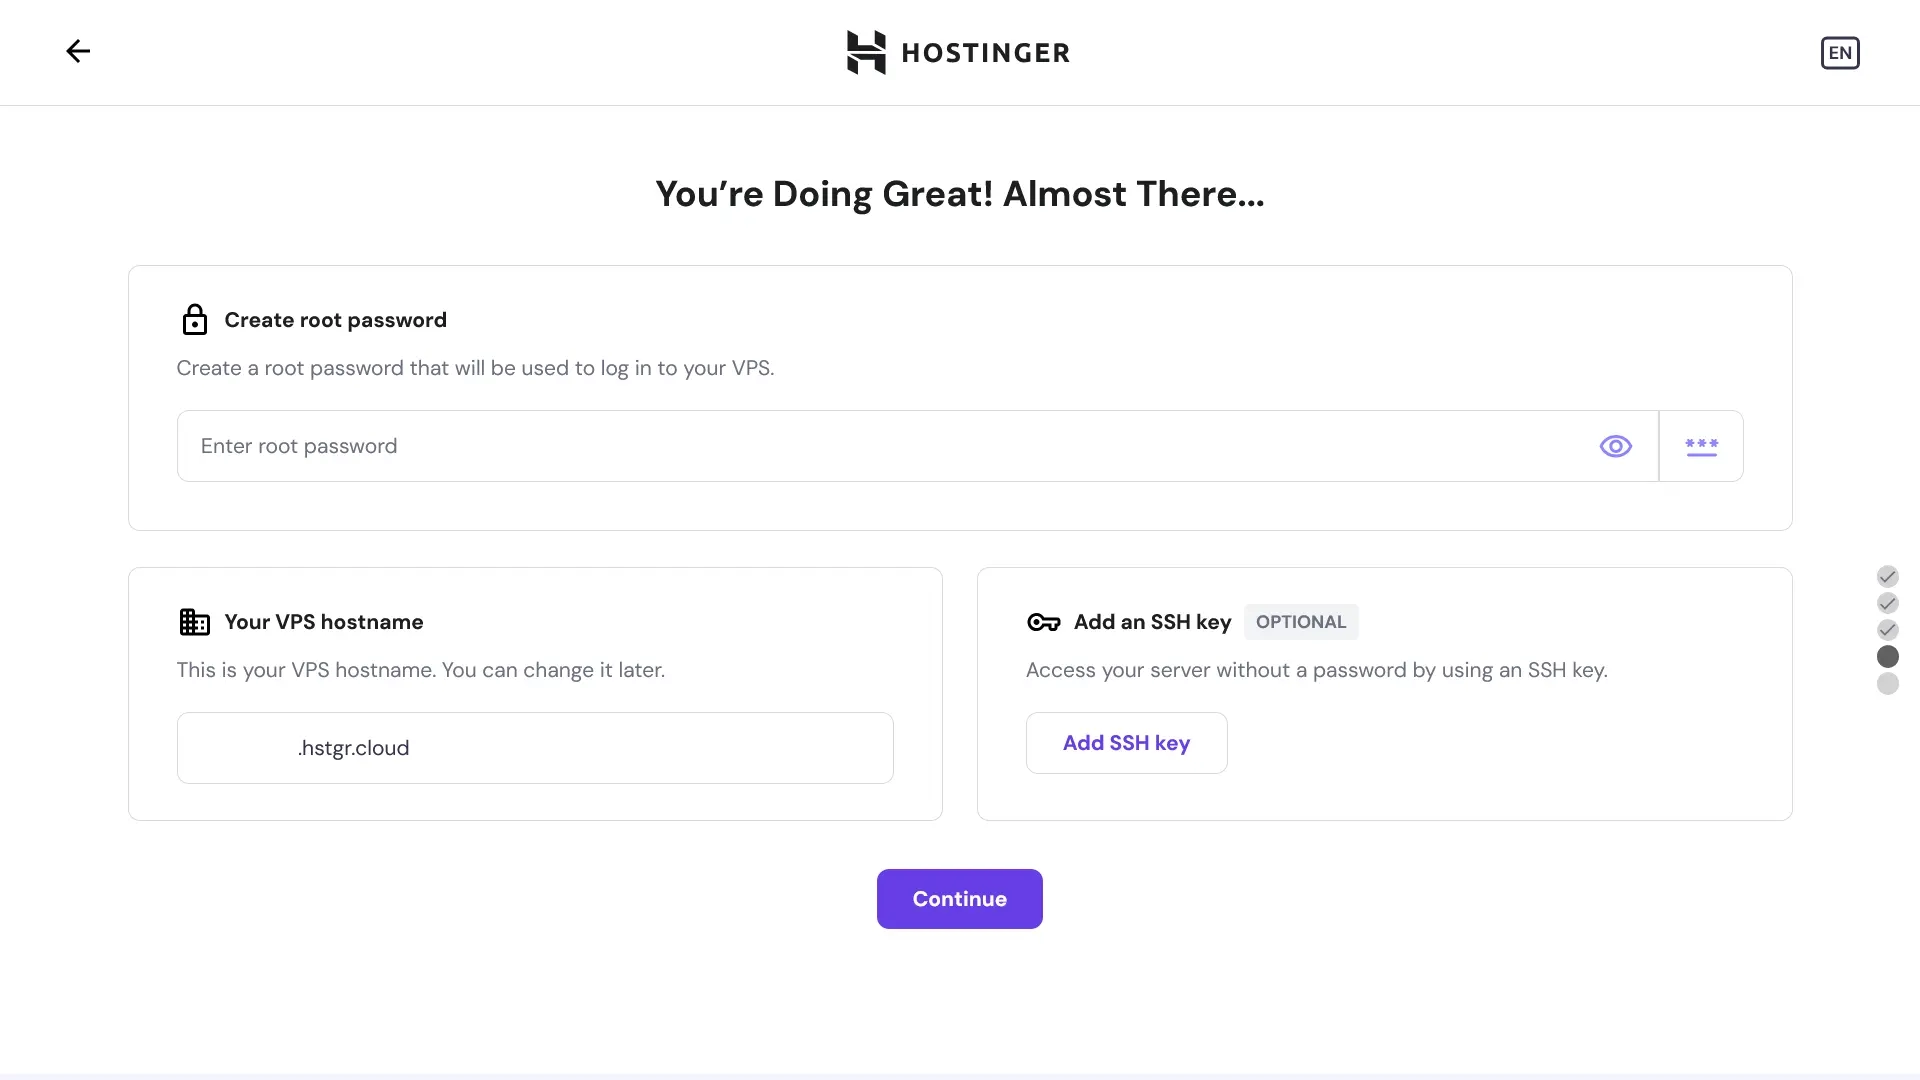
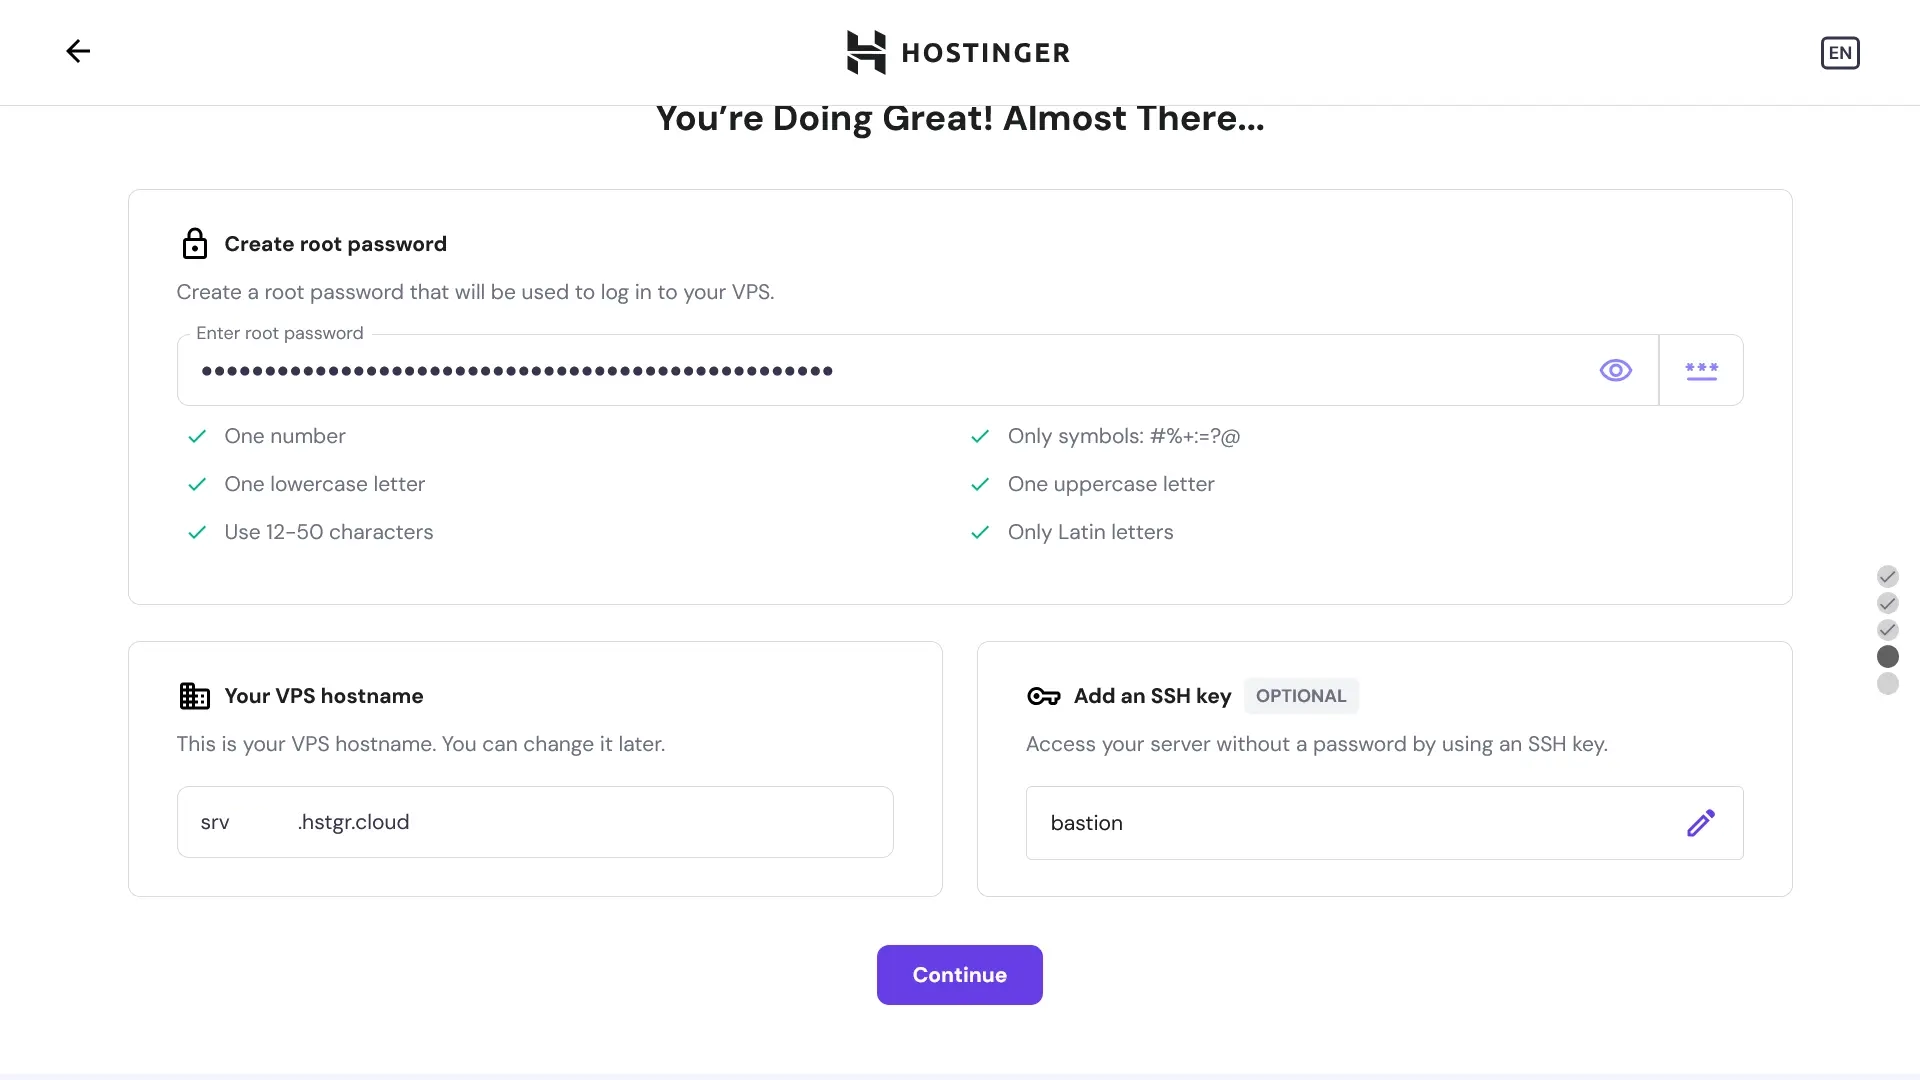
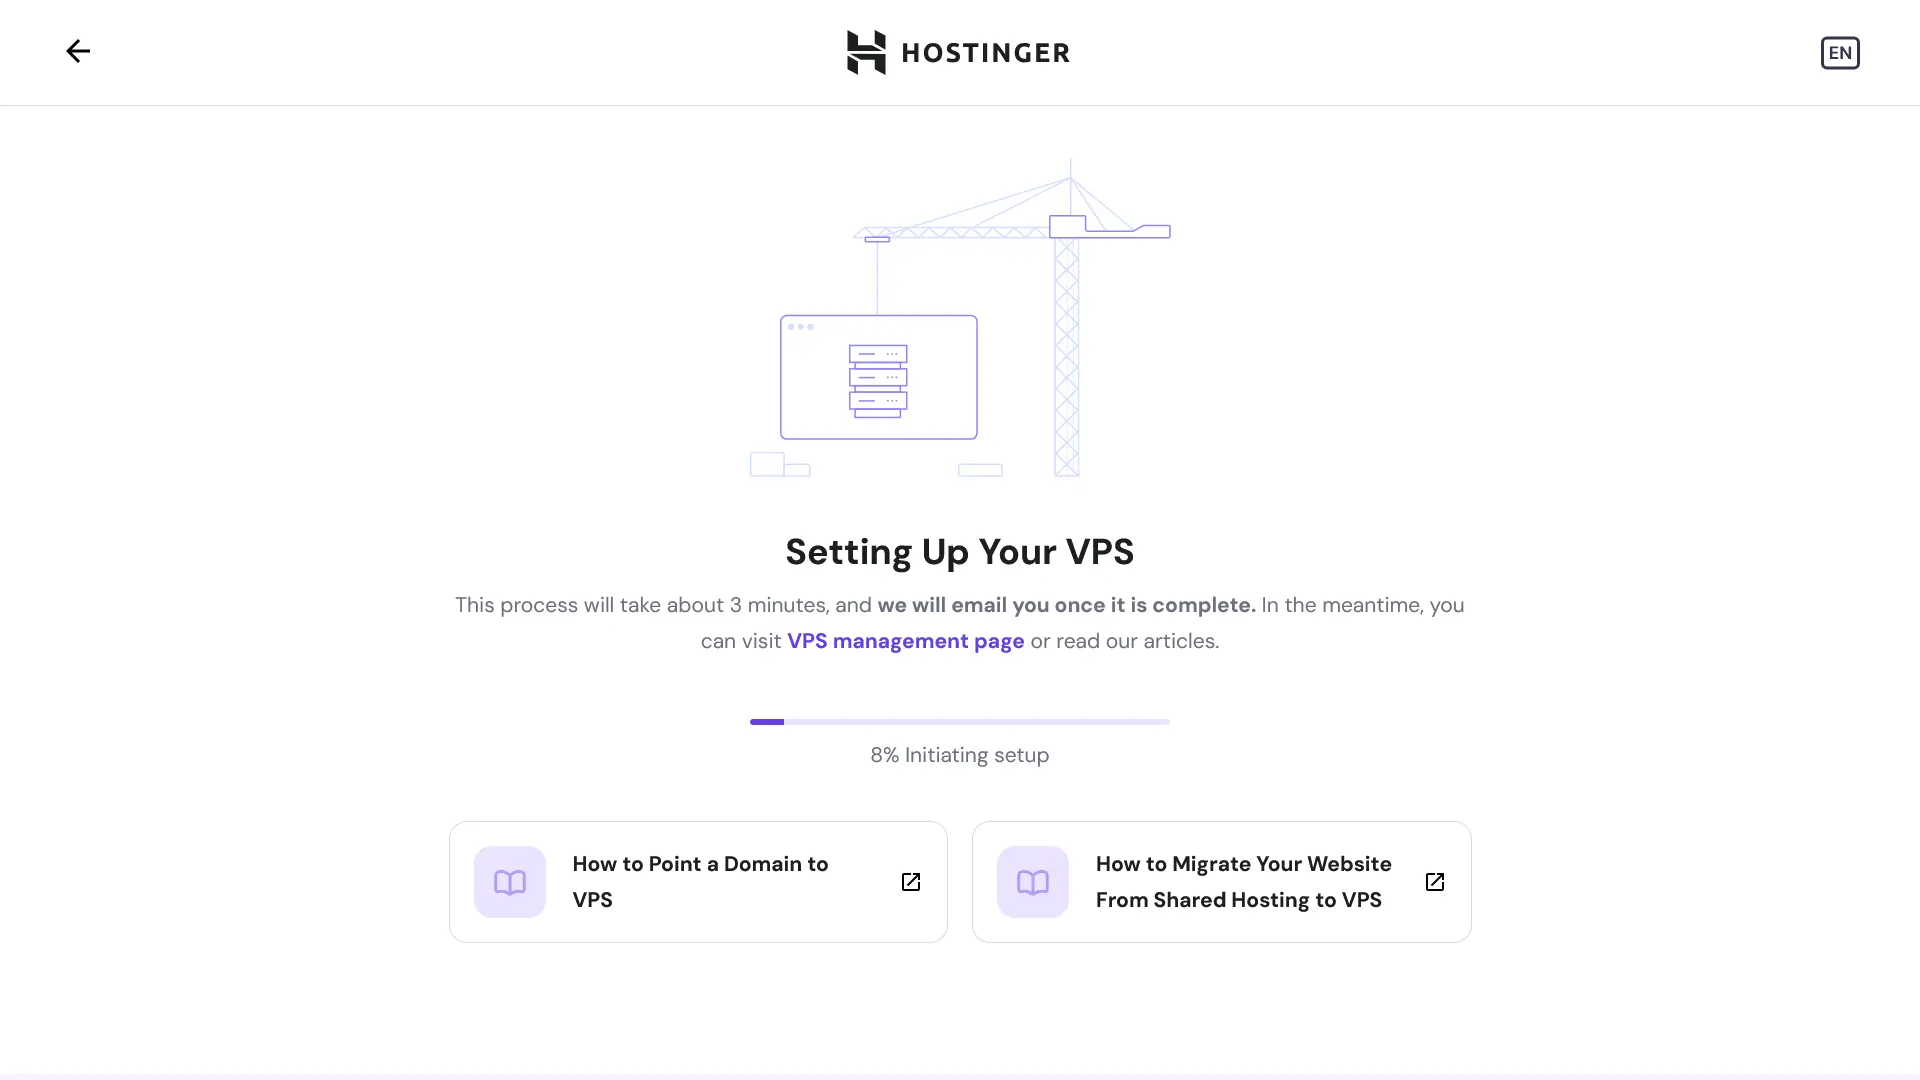
Make sure to confirm everything is correct!
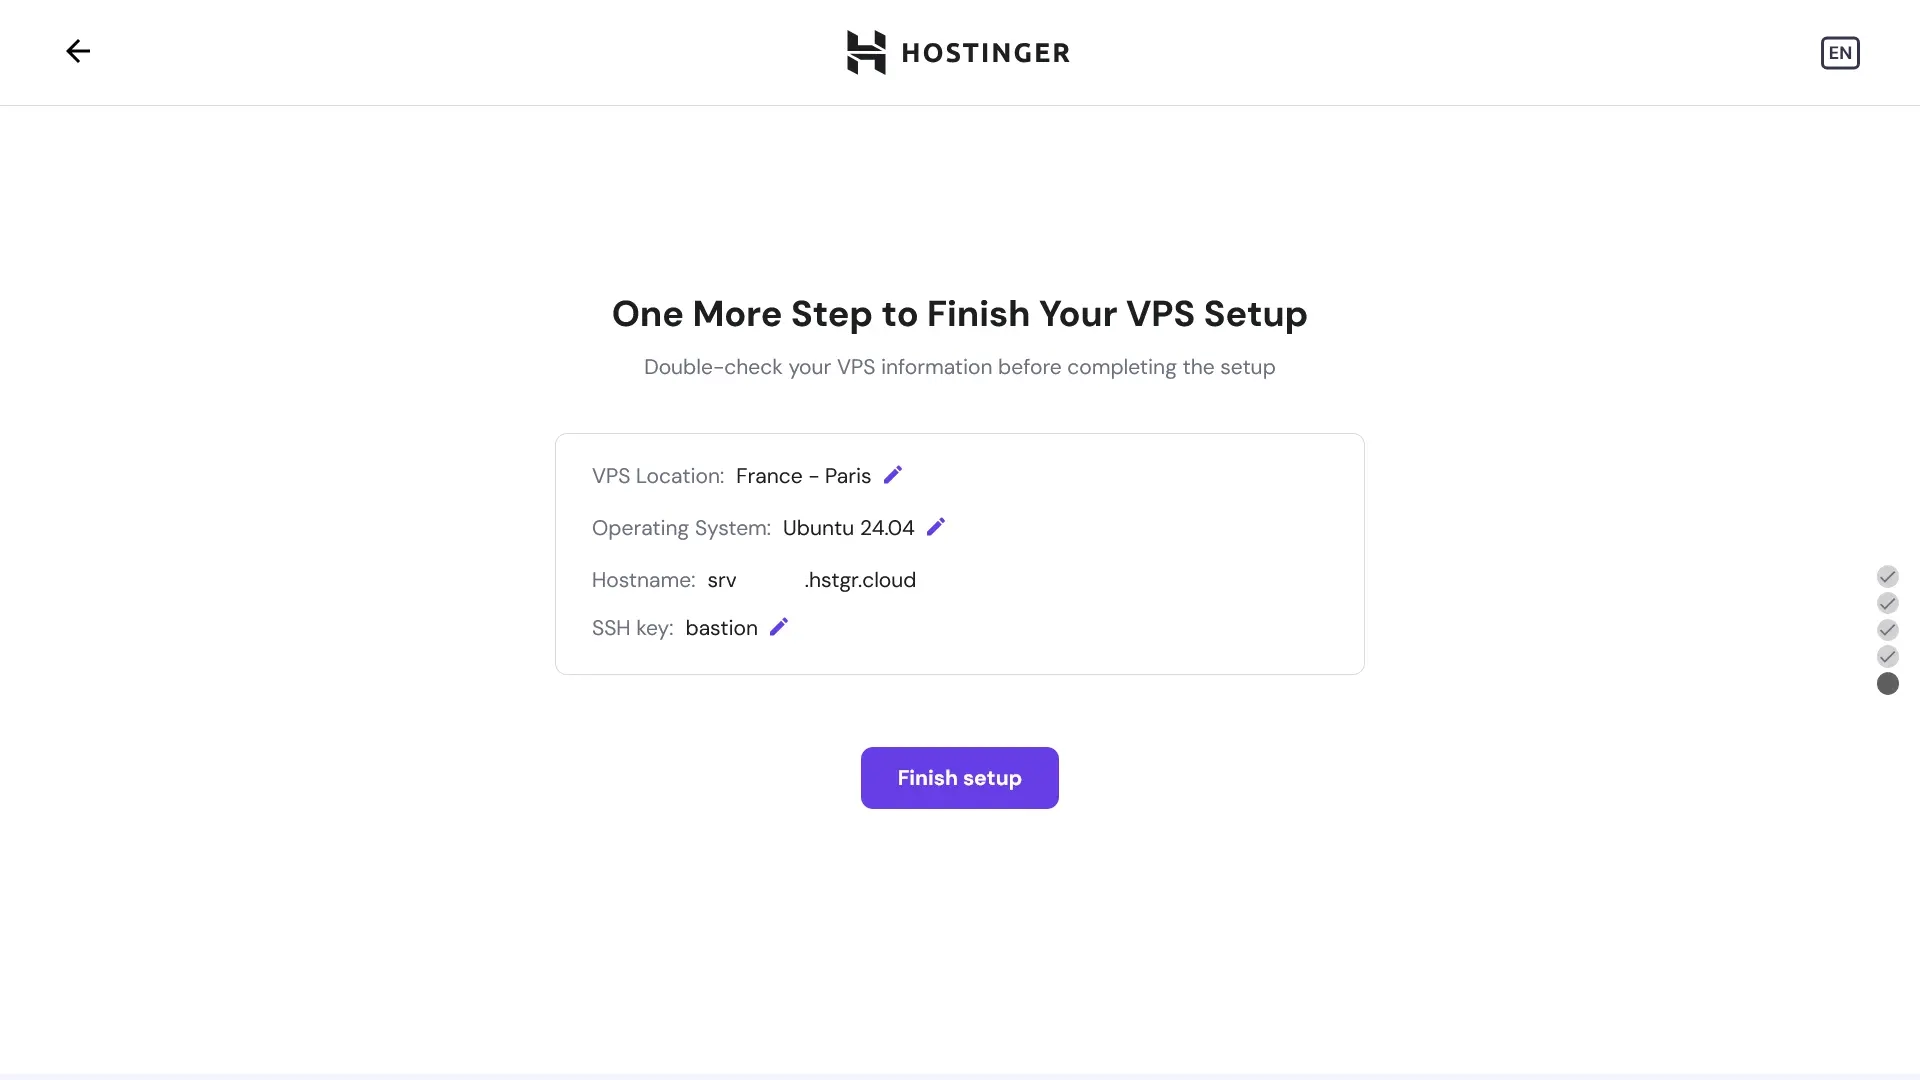
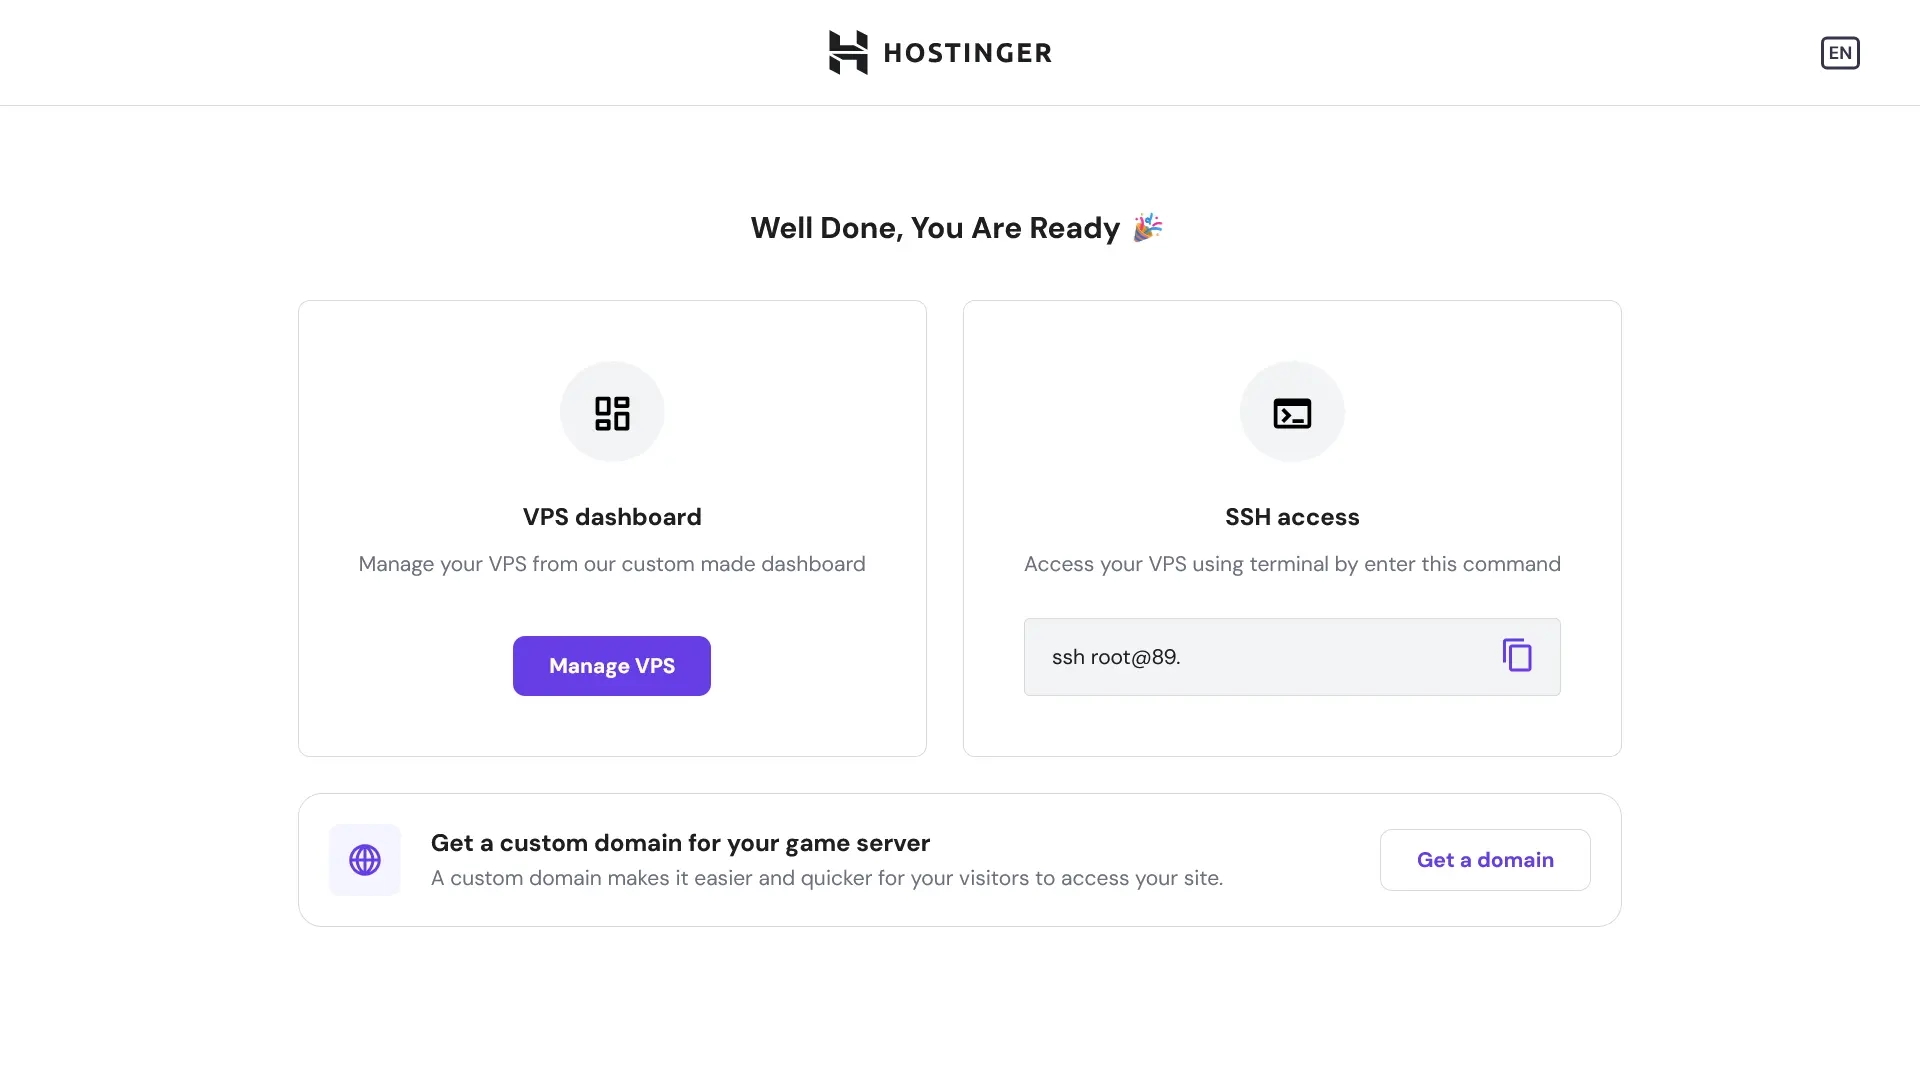
Wait for your VPS to be created...
|  |  |
| --------------------------------------------------------- | ------------------------------------------------------------ |
After installation, SSH into the machine:
```bash
# use the provided IP address to connect:
ssh root@
# .. if you have a SSH key configured
ssh root@ -i path/to/id_rsa
```
### Securing your server
```bash
# update the system
apt-get update && apt-get upgrade -y
# configure firewall
ufw allow ssh
ufw allow http
ufw allow https
ufw allow 7881/tcp
ufw allow 50000:50100/udp
ufw default deny
ufw enable
# if you have configured an SSH key, disable password authentication:
sudo sed -E -i 's|^#?(PasswordAuthentication)\s.*|\1 no|' /etc/ssh/sshd_config
if ! grep '^PasswordAuthentication\s' /etc/ssh/sshd_config; then echo 'PasswordAuthentication no' |sudo tee -a /etc/ssh/sshd_config; fi
# reboot to apply changes
reboot
```
> [!NOTE]
> If you are using another cloud provider, or you are doing this on a physical machine, you will need to forward ports 80, 443, 7881 and 50000-50100/udp.
### Configuring your domain
Your system is now ready to proceed with installation, but before we continue, you should configure your domain.
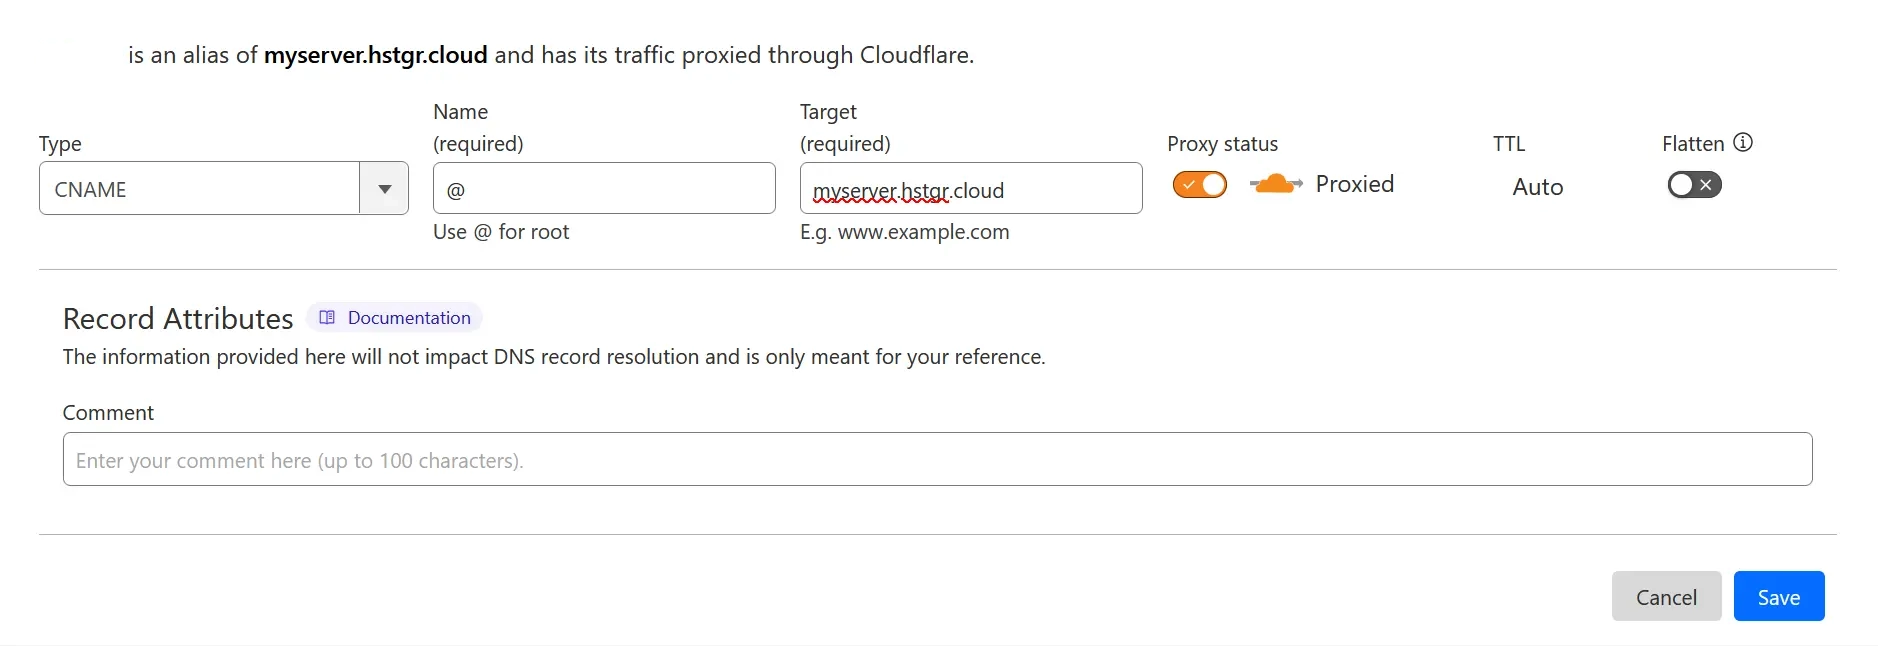
Your domain (or a subdomain) should point to the server's IP (A and AAAA records) or CNAME to the hostname provided.
### Install required dependencies
```bash
# ensure Git and Docker are installed
apt-get update
apt-get install ca-certificates curl git micro
install -m 0755 -d /etc/apt/keyrings
curl -fsSL https://download.docker.com/linux/ubuntu/gpg -o /etc/apt/keyrings/docker.asc
chmod a+r /etc/apt/keyrings/docker.asc
echo \
"deb [arch=$(dpkg --print-architecture) signed-by=/etc/apt/keyrings/docker.asc] https://download.docker.com/linux/ubuntu \
$(. /etc/os-release && echo "$VERSION_CODENAME") stable" | \
sudo tee /etc/apt/sources.list.d/docker.list > /dev/null
apt-get update
apt-get install docker-ce docker-ce-cli containerd.io docker-buildx-plugin docker-compose-plugin
```
## Configuration
Now, we can pull in the configuration for Stoat:
```bash
git clone https://github.com/stoatchat/self-hosted stoat
cd stoat
```
Generate a configuration file by running:
```bash
chmod +x ./generate_config.sh
./generate_config.sh your.domain
```
The generate_config.sh script will create the neccessary secrets required to create a Stoat instance, and the secrets will be inserted into a file named `secrets.env`. You should back up this file, as losing it may result in you losing access to all files on your Stoat instance.
You can find [more options here](https://github.com/stoatchat/stoatchat/blob/main/crates/core/config/Revolt.toml), some noteworthy configuration options:
- Email verification
- Captcha
- A custom S3 server
- iOS & Android notifications (Requires Apple/Google developer accounts)
If you'd like to edit the configuration, just run:
```bash
micro Revolt.toml
```
Finally, we can start up Stoat. First, run it in the foreground with:
```bash
docker compose up
```
If it runs without any critical errors, you can stop it with Ctrl + C and run it detached (in the background) by appending `-d`.
```bash
docker compose up -d
```
## Updating
Before updating, ensure you consult the notices at the top of this README, **as well as** [the notices](#notices) at the bottom, to check if there are any important changes to be aware of.
Pull the latest version of this repository:
```bash
git pull
```
Ensure that your secrets in `Revolt.toml` and `secrets.env` match. If your secrets don't match, copy the secrets from `Revolt.toml` to `secrets.env`. The following step will **overwrite** your existing configuration. If you have custom configuration settings you will need to copy them over afterwards. Alternatively, you can forgo running the configurator, but you may miss out on new features.
Run the configuration script with your domain and pass the overwrite flag:
```bash
./generate_config.sh --overwrite your.domain
```
Then pull all the latest images:
```bash
docker compose pull
```
Then restart the services:
```bash
docker compose up -d
```
## Additional Notes
### Creating an Account
By default, email verification is disabled.
However, when you sign up for an account on your Stoat instance, you are still required to submit an email address and will see a prompt to "Check your mail!" for a verification email. You can simply return to the login page and log in using the email address and password you just set.
### Placing Behind Another Reverse-Proxy or Another Port
During configuration using `generate_config.sh` you will be asked if you'd like to place Stoat behind another reverse proxy. Enter `y` to configure for reverse proxy. This will expose your caddy on port 8880, and you can reverse proxy to
> [!NOTE]
> If you are using nginx as your reverse proxy, you will need to add the upgrade header configuration to allow websockets on /ws and /livekit, which are required for Stoat.
> Example:
> ```
> server {
> server_name stoat.example.com;
>
> location / {
> allow all;
> proxy_pass http://localhost:1234;
> proxy_set_header Host $server_name;
> proxy_set_header X-Real-IP $remote_addr;
> proxy_set_header X-Forwarded-For $proxy_add_x_forwarded_for;
> proxy_set_header X-Forwarded-Proto $scheme;
> }
>
> location /ws {
> allow all;
> proxy_pass http://localhost:1234;
> proxy_http_version 1.1;
> proxy_set_header Upgrade $http_upgrade;
> proxy_set_header Connection "upgrade";
> proxy_set_header Host $server_name;
> proxy_set_header X-Real-IP $remote_addr;
> proxy_set_header X-Forwarded-For $proxy_add_x_forwarded_for;
> proxy_set_header X-Forwarded-Proto $scheme;
> }
>
> location /livekit {
> allow all;
> proxy_pass http://localhost:1234;
> proxy_http_version 1.1;
> proxy_set_header Upgrade $http_upgrade;
> proxy_set_header Connection "upgrade";
> proxy_set_header Host $server_name;
> proxy_set_header X-Real-IP $remote_addr;
> proxy_set_header X-Forwarded-For $proxy_add_x_forwarded_for;
> proxy_set_header X-Forwarded-Proto $scheme;
> }
> . . . # The rest of your nginx configuration
> }
> ```
### Insecurely Expose the Database
You can insecurely expose the database by adding a port definition:
```yml
# compose.override.yml
services:
database:
ports:
- "27017:27017"
```
Docker will bypass your ufw rules when you do this. This means that if the port is open, the database will be publically accessible and anyone will be able to modify it.
### Mongo Compatibility
Older processors may not support the latest MongoDB version; you may pin to MongoDB 4.4 and update the healthcheck as such:
```yml
# compose.override.yml
services:
database:
image: mongo:4.4
. . .
healthcheck:
test: echo 'db.runCommand("ping").ok' | mongo localhost:27017/test --quiet
. . .
```
### KeyDB Compatibility
Some systems (including ARM systems) may not support the latest KeyDB version; you may use redis or valkey instead as such:
```yml
# compose.override.yml
services:
redis:
image: valkey/valkey:8
```
### Making Your Instance Invite-only
Add the following section to your `Revolt.toml` file:
```toml
[api.registration]
# Whether an invite should be required for registration
# See https://github.com/stoatchat/self-hosted#making-your-instance-invite-only
invite_only = true
```
Create an invite:
```bash
# drop into mongo shell
docker compose exec database mongosh
# create the invite
use revolt
db.invites.insertOne({ _id: "enter_an_invite_code_here" })
```
### Why ports 7881 and 50000-50100/udp aren't in the Caddyfile
Livekit requires ports 7881/tcp and 50000-50100/udp to be openly accessible on the internet. These ports are used for the RTC protocol. Caddy does not support RTC without significant configuration changes that are out of scope of this repo.
## Notices
If you deployed Stoat before October 5, 2025...
> If you deployed Stoat before [2022-10-29](https://github.com/minio/docs/issues/624#issuecomment-1296608406), you may have to tag the `minio` image release if it's configured in "fs" mode.
>
> ```yml
> image: minio/minio:RELEASE.2022-10-24T18-35-07Z
> ```
> If you deployed Stoat before [2023-04-21](https://github.com/stoatchat/stoatchat/commit/32542a822e3de0fc8cc7b29af46c54a9284ee2de), you may have to flush your Redis database.
>
> ```bash
> # for stock Redis and older KeyDB images:
> docker compose exec redis redis-cli
> # ...or for newer KeyDB images:
> docker compose exec redis keydb-cli
>
> # then run:
> FLUSHDB
> ```
> As of 30th September 2024, Autumn has undergone a major refactor, which requires a manual migration.
>
> To begin, add a temporary container that we can work from:
>
> ```yml
> # compose.override.yml
> services:
> migration:
> image: node:21
> volumes:
> - ./migrations:/cwd
> command: "bash -c 'while true; do sleep 86400; done'"
> ```
>
> Then switch to the shell:
>
> ```bash
> docker compose up -d database migration
> docker compose exec migration bash
> ```
>
> Now we can run the migration:
>
> ```bash
> cd /cwd
> npm i mongodb
> node ./20240929-autumn-rewrite.mjs
> ```
> As of November 28, 2024, the following breaking changes have been applied:
>
> - Rename config section `api.vapid` -> `pushd.vapid`
> - Rename config section `api.fcm` -> `pushd.fcm`
> - Rename config section `api.apn` -> `pushd.apn`
>
> These will NOT automatically be applied to your config and must be changed/added manually.
>
> The following components have been added to the compose file:
>
> - Added `rabbit` (RabbitMQ) and `pushd` (Stoat push daemon)
> As of October 5, 2025, the following breaking changes have been applied:
>
> - Rename docker compose project from revolt to stoat
>
> These will NOT automatically be applied to your environment.
>
> You must run the environment with the old revolt name to apply the update. After you run `docker compose pull` during the upgrade procedure, you must run `docker compose -p revolt down`. You may then continue with the upgrade procedure.
> [!IMPORTANT]
> As of February 28, 2026, the configuration script will load secrets into `secrets.env`. You must copy your existing secrets into secrets.env to prevent `generate_config.sh` from overwriting your secrets. If your secrets are overwritten you will lose access to all files on your Stoat instance.
>
> Copy secrets.env.example to secrets.env
>
> ```bash
> cp secrets.env.example secrets.env
> ```
>
> Begin the process of copying your secrets to secrets.env. You can view where each secret is located by reading the `secrets.env` file. Open the file with micro and read the instructions.
>
> ```bash
> micro secrets.env
> ```
>
> All of your secrets can be found in `Revolt.toml` and should be copied to your `secrets.env` file. After all 5 secrets are copied over, you are safe to run `generate_config.sh` to get new configuration options.
## Security Advisories
- (`2024-06-21`) [GHSA-f26h-rqjq-qqjq stoatchat/stoatchat: Unrestricted account creation.](https://github.com/stoatchat/stoatchat/security/advisories/GHSA-f26h-rqjq-qqjq)
- (`2024-12-17`) [GHSA-7f9x-pm3g-j7p4 revoltchat/january: January service can call itself recursively, causing heavy load.](https://github.com/revoltchat/january/security/advisories/GHSA-7f9x-pm3g-j7p4)
- (`2025-02-10`) [GHSA-8684-rvfj-v3jq stoatchat/stoatchat: Webhook tokens are freely accessible for users with read permissions.](https://github.com/stoatchat/stoatchat/security/advisories/GHSA-8684-rvfj-v3jq)
- (`2025-02-10`) [GHSA-h7h6-7pxm-mc66 stoatchat/stoatchat: Nearby message fetch requests can be crafted to fetch entire message history.](https://github.com/stoatchat/stoatchat/security/advisories/GHSA-h7h6-7pxm-mc66)